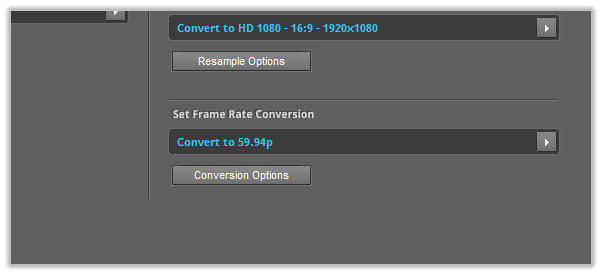
To configure the frame rate down conversion options, open the conversion options dialog from the “Conversions/Resample” tab in the settings panel :
1: Configuring the frame rate down conversion options

When performing a frame rate down conversion,the user can select several options to control the conversion process. The software uses dedicated conversion
algorithms depending on the original and final frame rate , for instance if you perform a 24p conversion, a dedicated 24p conversion function is used to achieve
the best quality.
These conversion options are applied to any frame rate down conversion process including progressive and interlaced, for instance:
- when converting to 24p (or 25p) from any format like 60i, 60p or 50i.
- when converting from 120p or 240p to any format like 60p, 50p, 30p or 24p.
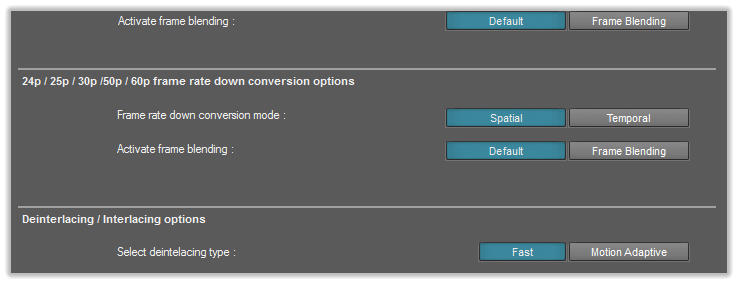
In the “24p/25p/30p/50p/60p frame rate down conversion options” panel you can see the down conversion options :
The first option, “Select precision mode” allows to select between spacial and temporal conversion precision. This option applies when the original and final
frame rate present a temporal mismatch :
- Spatial precision: the software uses as many as possible original frames, the conversion is faster but lineal movement or pannings can be a little jerky.
- Temporal precision: new frames are generated for perfect temporal precision of final frame rate.
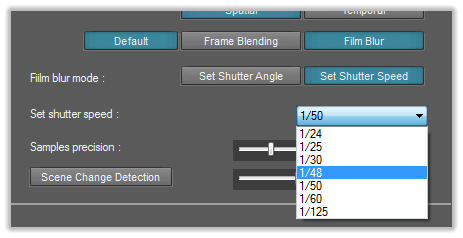
The “Film blur mode options” controls the amount of film blur added to final video. The user can select the film blur amount by setting a shutter angle or a
shutter speed.
The second option, “Select conversion mode” controls the operation performed to the frames when down converting, this can be :
- Default:
original frames are processed directly.
- Frame Blending:
original frames are blended to smooth the movement.
This film blur amount refers to the final frame rate, this is, if you are converting a 60p video to 24p and select a shutter angle of 180, this will produce a film
blur equivalent to record at 24p with a 180 shutter angle.
If you select a shutter speed of 1/48, this will produce a final video equivalent to have been recorded with a 1/48 shutter speed.
The samples precision option controls the amount of samples used to produice the blur, the default value 2 is the best for most videos.
If the video have different scenes it may be possible to get artifacts on that scene changes, if this happens you can activate the scene change detection.
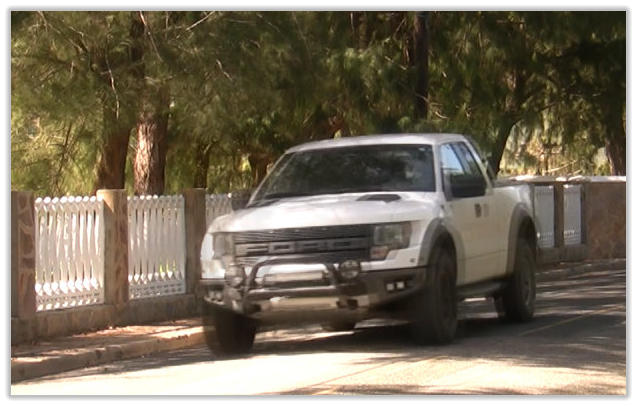
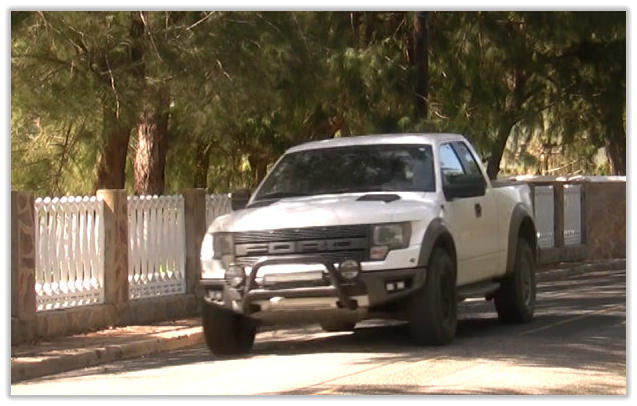
Let's look at some examples of the three conversion modes. This is a video recorded at 60i using a 1/120 shutter speed, and then converted to 24p using the
three conversion modes :
3: Default, blend and film blur samples
Conversion mode default :
Conversion mode frame blending :
Conversion mode film blur :
Copyright © 2022 Acrovid. All trademarks are property of their respective owners
Support
Products
Resources
About
2: Configuring frame rate down conversion with motion blur
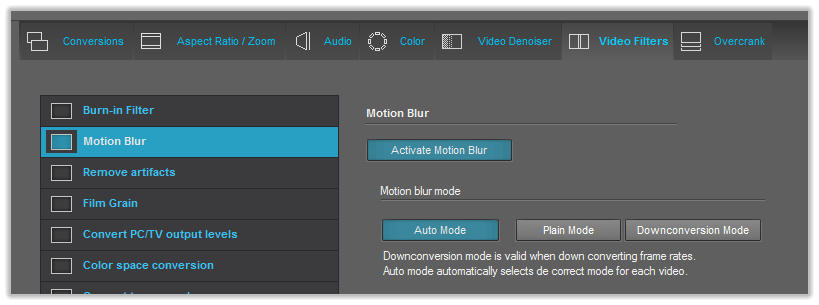
To add film blur when performing frame rate down conversions, for instance 60i to 24p, or 50p to 25p, go to “filters” tab and select the “Motion Blur” filter:
Activate the motion blur filter by clicking on the “Activate Motion Blur” button, and select the “Auto Mode”.
Sign up for our newsletter to receive
news and special offers

Acrocode Studio Pro™ tutorial: Frame rate down conversions with film blur (24p/25p/30p/50p/60p)

Press/Affiliates
Share