Copyright © 2025 Acrovid. All trademarks are property of their respective owners
Support
Products
Resources
About
Sign up for our newsletter to receive
news and special offers


Press/Affiliates
Share


About
About


User Guide
Acrovid,neoFootage AI, SuperChroma AI and SuperBitdepth AI are trademarks or registered trademarks of Acrovid, Vulkan and the Vulkan logo are registered trademarks of the Khronos Group Inc. All other trademarks or registered trademarks like Adobe Premiere, After Effects, Dacinvi Resolve, Avid, Avid
Media Composer, ProRes, DNxHD, GrassValley, NVIDIA, CUDA,Intel, Quicksync or Cineform mentioned in this document are property of their respective owners. Reference herein does not constitute or imply affiliation with our company, endorsement, or recommendation. Some videos on this webpage are
Fast AI powered video enhance and upscale
Plugin for OFX hosts


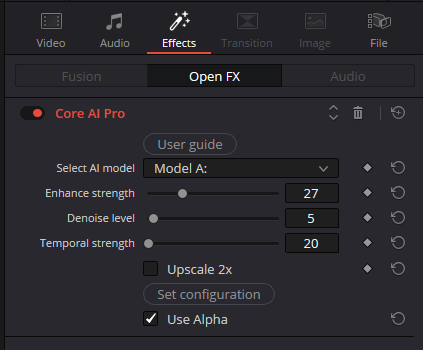
Configuring Core AI Pro
Core AI Pro supports videos encoded in pro formats:
- Videos originally encoded in pro formats like ProRes or DNxHR, directly from camera or converted from RAW formats.
- Videos in RAW formats after conversion to RGB in the NLE host.
Activate Core AI Pro by adding the plugin to the video:
Set the current configuration
After configuring the parameters, press the button “set configuration” to configure the AI model and check the
effect in the video preview.
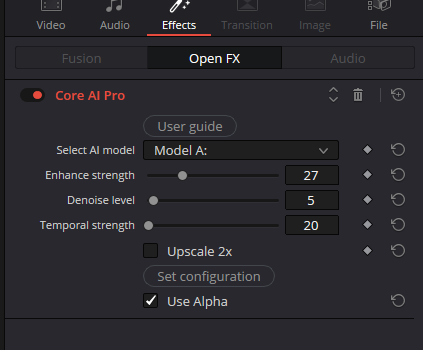
TIP: when changing the parameters value, the video is not processed and shows the original source, after clicking
the button “Set configuration” the video is processed with current parameters.
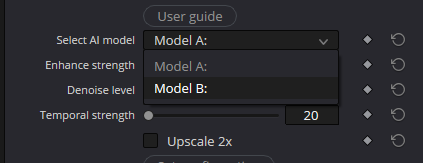
Selecting the AI model
Core AI Pro includes two AI models, Model A and Model B:
Model A features video enhancing creating less details than Model B, Model A is recommended when no video upscaling is
needed, or for upscaling detailed videos.
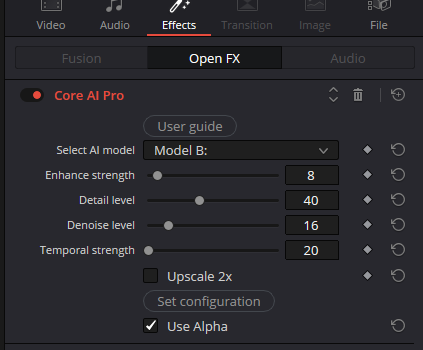
Model B features video enhancing and upscaling, and includes additional configuration for detail level.
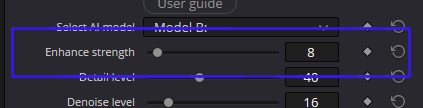
The enhance strength configures the video deartifacting and debanding.
The default value is 1, if the video still present compression artifacts or banding increase the enhance strength.
Configuring the enhance strength
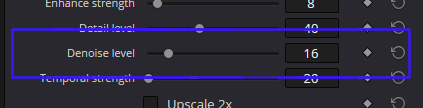
Increase the denoise level to remove video noise, the default value is 1, if the video still present noise increase the strength.
TIP: for denoising low noise videos increase the denoise level, for high ISO videos you can increase also the temporal strength.
TIP: when increasing the denoise strength, depending on the video slight bright changes may appear.
Configuring the denoise level
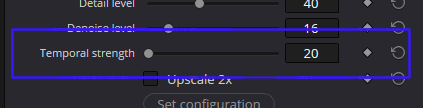
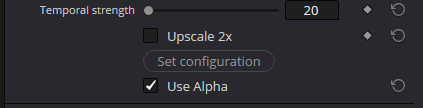
The temporal strength minimum and default value is 20, recommended for most videos.
Increase the temporal strength value to remove motion artifacts, high ISO noise, blocking or video fluctuations.
TIP: The temporal strength effect is stronger that denoise level, for denoising increase the denoise level, if the video still present noise,
increase the temporal strength.
TIP: increasing temporal strength may blur the motion areas, it is better to create a preview to check the effect.
Configuring the temporal strength
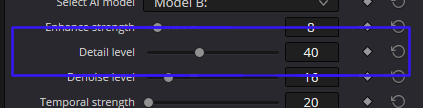
The detail level can be configured when selecting Model B.
The default value is 40, increase the detail level to create more details, or reduce it to create less details.
Configuring the detail level

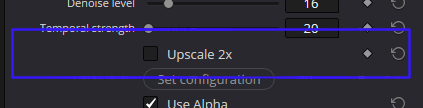
Upscale the video
Activate the “Upscale 2x” option to upscale the video.
To upscale a video for example from HD to UHD, set the timeline resolution to UHD, and add the video centered to the
timeline.
Davinci Resolve TIPs:
•
upscale does not work in color panel, use the edit panel to upscale the video.
•
in “Project Setting” set “Input scaling” option to “Center crop with no resizing” :